You know, robot vacuum cleaners have really taken the cleaning world by storm, haven’t they? They zip around our floors, doing their thing, making our lives a bit easier. But, there’s this one aspect that often flies under the radar – maintenance.
Maintaining a robot vacuum is a whole different ball game compared to your standard vacuum cleaner. It’s not necessarily harder – just different. There are a few key things you should be doing to ensure your little robotic pal keeps buzzing along for years to come.
So, let’s break it down. We’ll go through the essential steps and procedures to not only clean your robot vacuum but also to really maximize its efficiency and lifespan. By staying on top of these maintenance tips, you can make sure your robot vacuum keeps your floors spotless for a long, long time. Ready to learn the tricks of the trade? Let’s get started!
Why Is Maintenance So Important For Your Roomba?
Regular maintenance of robot vacuums is crucial for optimal performance, longevity, and efficiency. Cleaning and replacing worn-out parts such as brushes, filters, and wheels prevent excessive wear and tear, reducing the likelihood of breakdowns and costly repairs.
A well-maintained robot vacuum operates better, consuming less energy, running quietly, and navigating through cleaning cycles smoothly. It also contributes to a hygienic environment by preventing the spread of allergens, dust mites, and bacteria through proper filter and brush cleaning.
Consistently maintaining a robot vacuum not only preserves its performance but also ensures a cleaner, healthier home environment.
Here’s The Robot Vacuum Maintenance Schedule
To maintain your robot vacuum, there are a few parts that need to be replaced or cleaned every so often. Here is a chart to help you know when you should be doing these maintenance items.
| Item | Clean | Replace |
|---|---|---|
| Battery | 2 To 4 Years | |
| Air Filter | Monthly | Every 3 To 6 Months |
| Beater Brushes | Monthly | Yearly |
| Side Brushes | Monthly | Yearly |
| Side Brush Motor | When Damaged | |
| Sensors | Monthly | When Damaged |
| Dustbin | Monthly | When Damaged |
| Front Bumper | Monthly | When Damaged |
| Charging Base | Monthly | When Damaged |
| Charging Ports | Monthly | When Damaged |
| Wheels | Monthly | When Damaged |
| Software Updates | Check Monthly |
Battery Maintenance
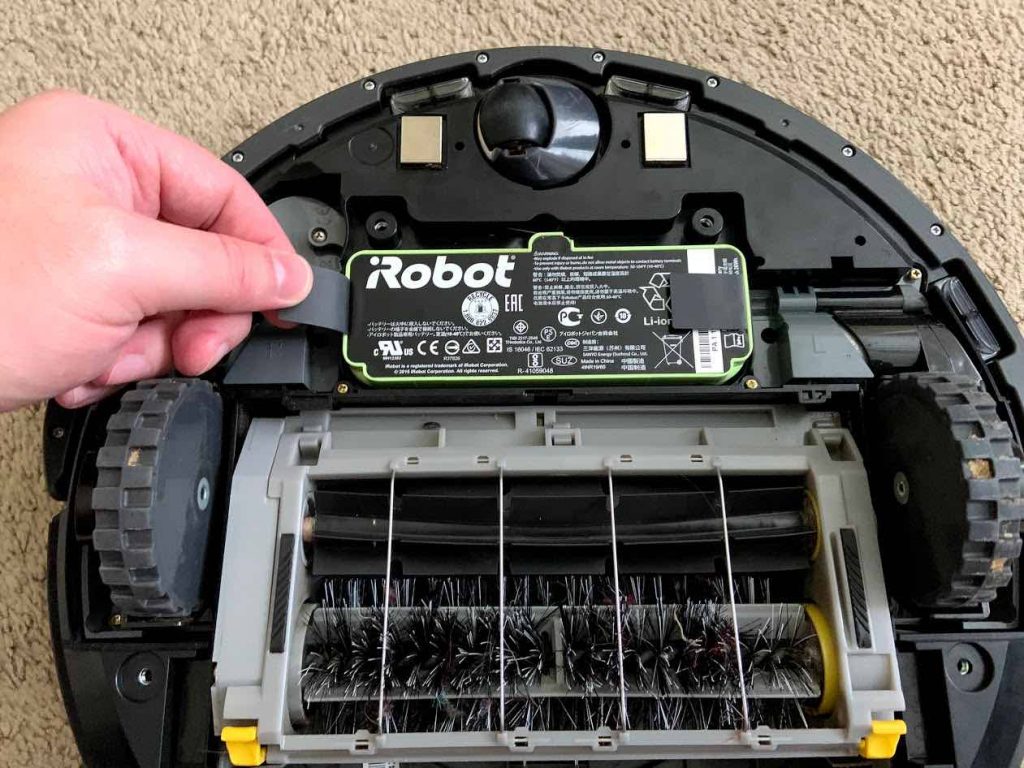
The battery in robot vacuums don’t last forever, nor do anything that uses a battery.
For best results, you should replace the battery in your robot vacuum every 2 to 4 years.
The battery does not need to be cleaned and to keep it going strong you should keep your robot vacuum on the base charging station when you’re not using. Unplugging your robot vacuum when it’s not in use is not recommended, as the charging base will turn on and off as the robot vacuum needs to keep its battery life regulated. If your robot vacuum is not charging for some reason, go here.
Here is a post on replacing a Roomba battery.
Air Filter Cleaning & Replacement
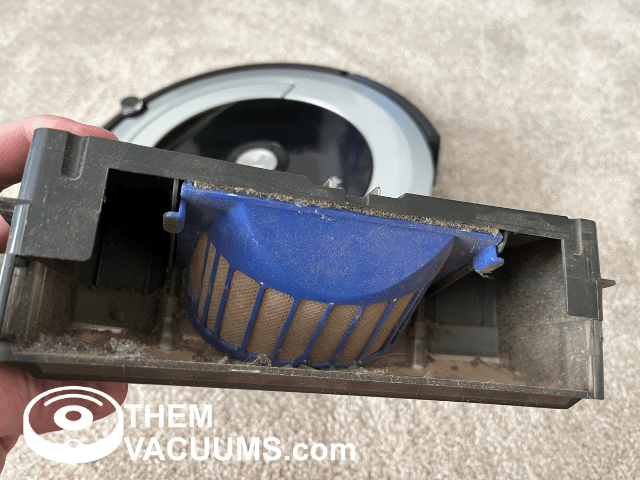
Your robot vacuum will have an air filter that needs to be replaced or cleaned depending on what type of filter you have.
Most robot vacuums have a filter that can’t be washed, but you can blow it off with a duster and get a few more months out of it.
Blow and clean the air filter monthly. Replace the filters every 6 months at the max.
If you pets or allergies, you should replace the filter in your robot vacuum more often.
The filter on your robot vacuum is often located on or near the dustbin. No tools are needed to remove them, they pop off.
Beater Brush Clean & Replacement
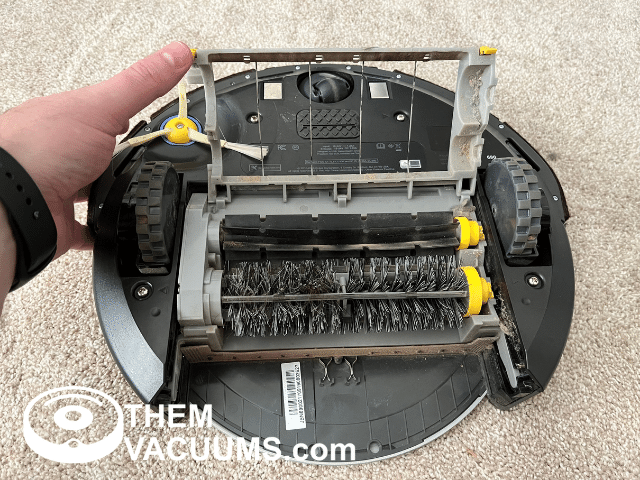
The beater brush, or also called beater bar, are the rotating brushes under your robot vacuum.
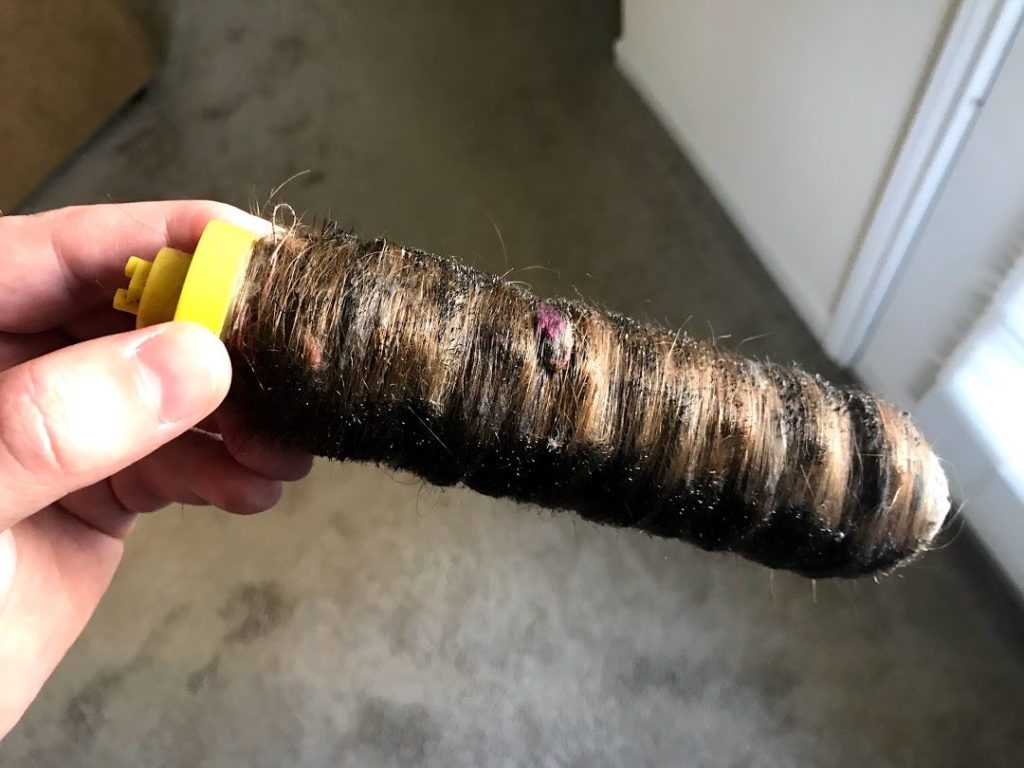
These brushes are bad about getting hair wrapped around them and wearing out over time. The more you use these brushes, the more they wear and the shorter and less effective they become at cleaning your floors.
It’s best that you clean these brushes from hair and debris monthly. To clean the brushes on your robot vacuum, you need scissors to cut the hair and dirt free. Then rinse the brushes under the sink and let them dry overnight.
These brushes need to be replaced every year, as they do get shorter over time from all the cleaning. Shorter brushes can’t reach as deep into the carpet fibers.
Side Brushes Clean & Replace
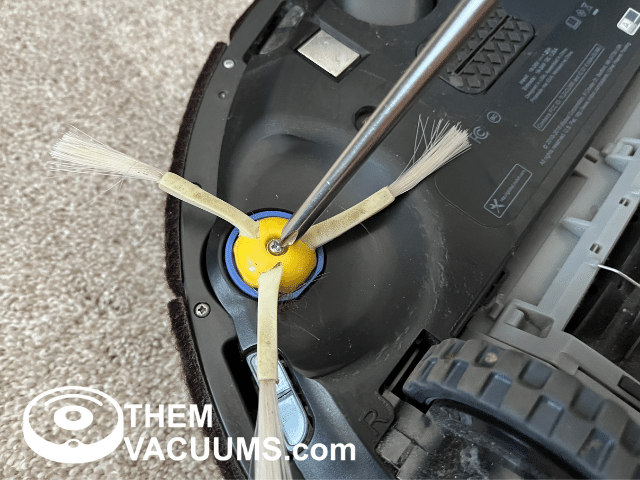
The side brushes on robot vacuums are used to funnel dirt into the suction area and to clean corners.
These side brushes often get tangled in hair and needs to be removed and cleaned monthly.
Just like the beater brushes, they should be replaced yearly as they get shorter over time and wear out.
Side Brush Motor
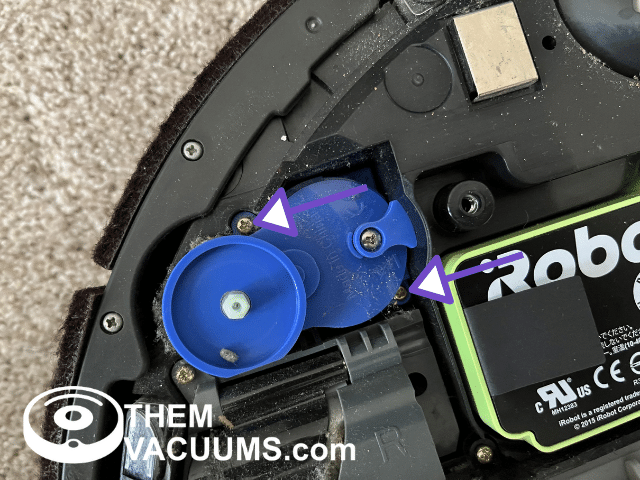
The side brush motor can wear out over time and stop working.
Sometimes water, dirt or pet waste can get to the connections and keep it from working. There is no cleaning you can do without special tools, but should be replaced when it stops working.
We go over cleaning, fixing, and maintenance for side brushes in the post here.
Sensors Clean & Replace
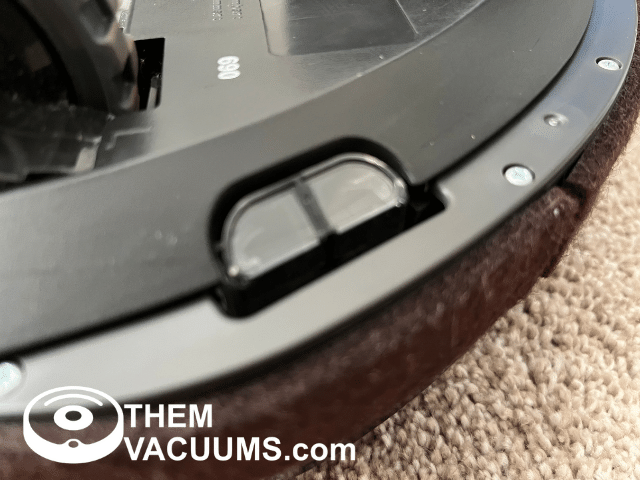
Your robot vacuum uses all kinds of sensors to help it navigate and know where cliffs are.
The sensors are located under the robot vacuum, on the front bumper, and even on top. Usually, anywhere you see shiny plastic or a clear window is a sensor.
About the only sensor you shouldn’t touch is the LiDAR, but remove any cobwebs and dust that may be blocking its view.
You only need to wipe these sensors down with a clean, wet rag. If they’re extra dirty then a rag with rubbing alcohol can be used.
Dustbin Clean & Replace
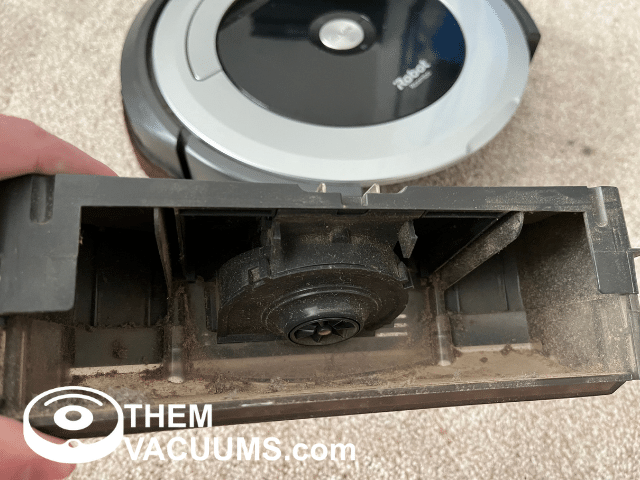
The dustbin holds all the dirt and dust your robot vacuum picks up.
The dustbin often holds the air filter and vacuum motor too.
You should clean the dustbin every month and replace it when it becomes damaged. A hole in the dustbin, suction motor not working, or air filter not seating properly are reasons to get a new dustbin.
To clean the dustbin empty its contents in the trash. Remove the filter if it has one. Then blow out the dustbin.
If your dustbin doesn’t have the motor inside of it, you can rinse it under the sink and let it dry overnight. Otherwise, wipe it down with a damp rag.
Front Bumper Clean & Replace
The front bumper of your robot vacuum lets it know it hit something and needs to turn around.
While this bumper seems simple, you should still clean it. Remove any hair and debris from it that may keep it from moving.
Also, wipe it down as there are sensors on them that are used to determine if the robot vacuum is about to hit something; if your robot vacuum seems to slow down a little before hitting something, it’s the sensors in the front bumper that do that.
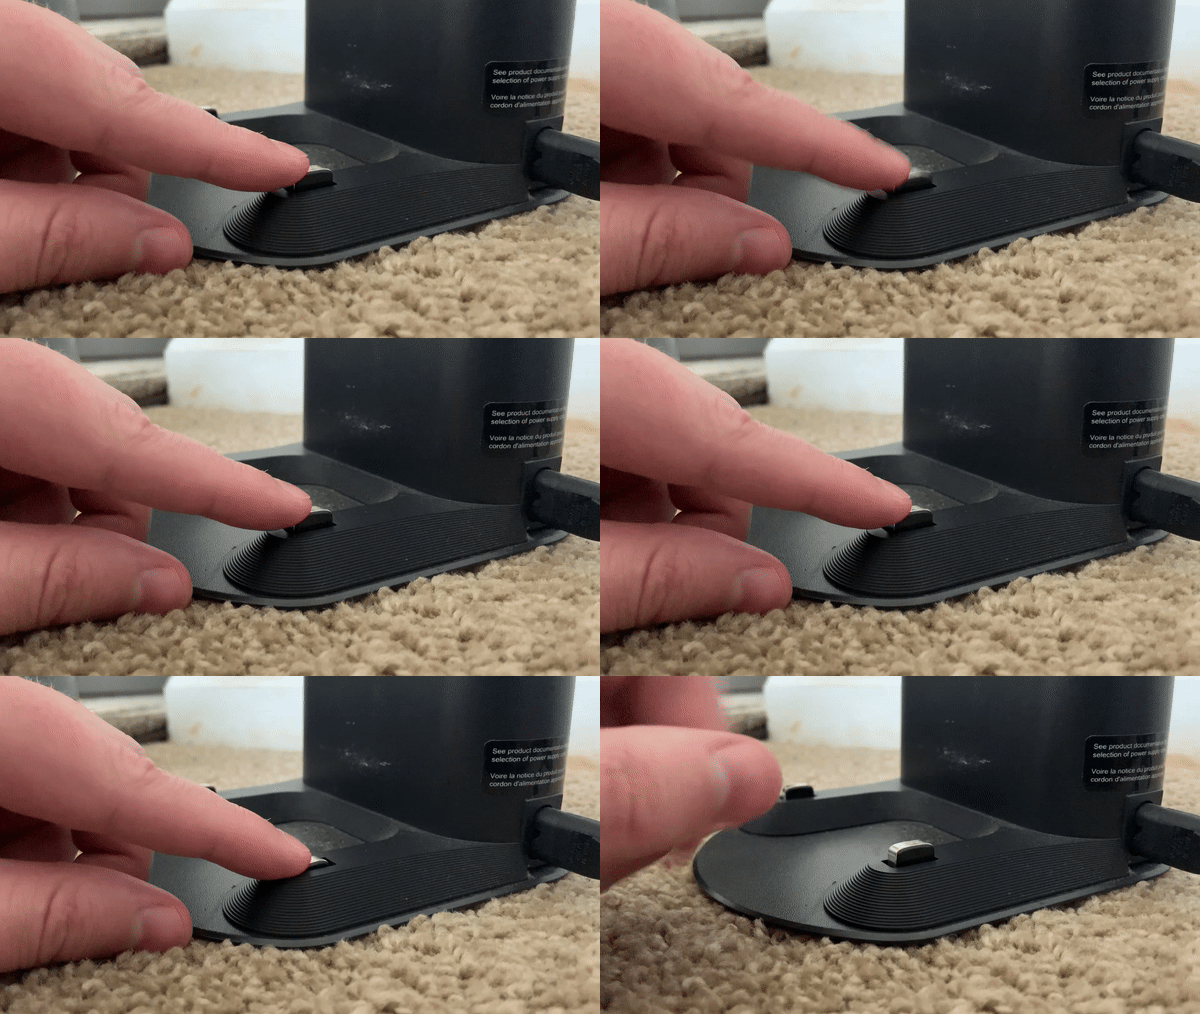
Charging Base Clean & Replace
The most overlooked part of a robot vacuum is the charging base.
You need to clean this monthly, especially since many robot vacuums don’t start cleaning until they’re completely off the base.
Wipe down the base and clean it’s charging pads. Wipe down the sensors and make sure no dust is sitting on them.
Charging Ports
Not only should you clean the charging ports on the base station, but also the ports on your robot vacuum.
These shiny metal pads get dirty quickly, and the best way to clean them is with rubbing alcohol and a wet rag.
If these charging ports get too dirty, the robot vacuum won’t charge or have a hard time finding its base station even though it’s right over it.
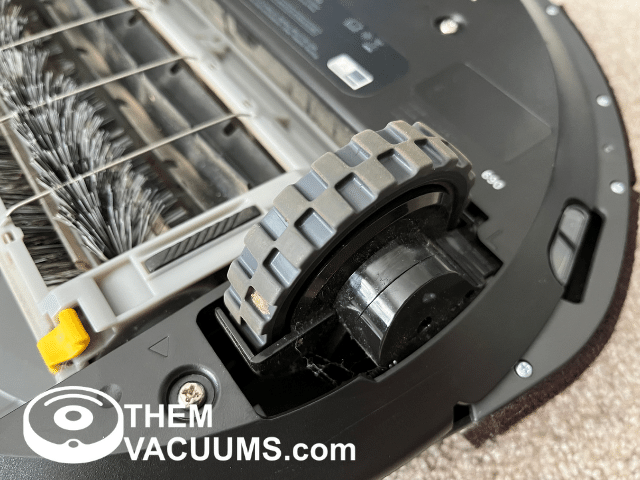
How To Clean The Wheels And When To Replace Them
The wheels on your robot vacuum tend to get hair and dust stuck around them, especially at the axle.
You can cut the hair free and wipe the dust away.
The tracks on the robot vacuum can also collect small items and, when stuck, drag it across your home. The one thing that gets stuck really bad in robot vacuum wheels is dog poop.
You should clean your wheels monthly and only replace them when they’re damaged.
Make Sure You Do Software Updates!
Robot vacuum manufacturers are always releasing new updates for robot vacuums.
Many of these updates are automatic and nothing for you to do. While a few will require your attention.
Every month, you should open your robot vacuum app and see if there are any updates.
These updates could be to fix a bug and make your robot vacuum clean better, or security updates.
