You’ve got a Roomba, right? These little guys are pretty awesome at keeping our floors clean, but they need a bit of TLC to keep them running smoothly. The key? Regular maintenance of the brushes. You should give them a good cleaning every month. Think of it like a spa day for your Roomba!
But there’s more. Just like how we sometimes need a new haircut, your Roomba needs new brushes every year. It’s like refreshing its cleaning mojo!
Now, if you skip out on cleaning or replacing the brushes, your Roomba might start to slack off in the cleaning department. And we don’t want that, do we?
So, how do you keep those brushes in shape? Let’s walk through the steps to clean and replace your Roomba’s brushes. It’s easier than you think, and it’ll make a world of difference in how well your little robotic buddy cleans up. Ready to dive in? Let’s go!
Why Clean The Brushes On Your Roomba?
If you don’t clean your Roomba Brushes, they will end up looking like this:
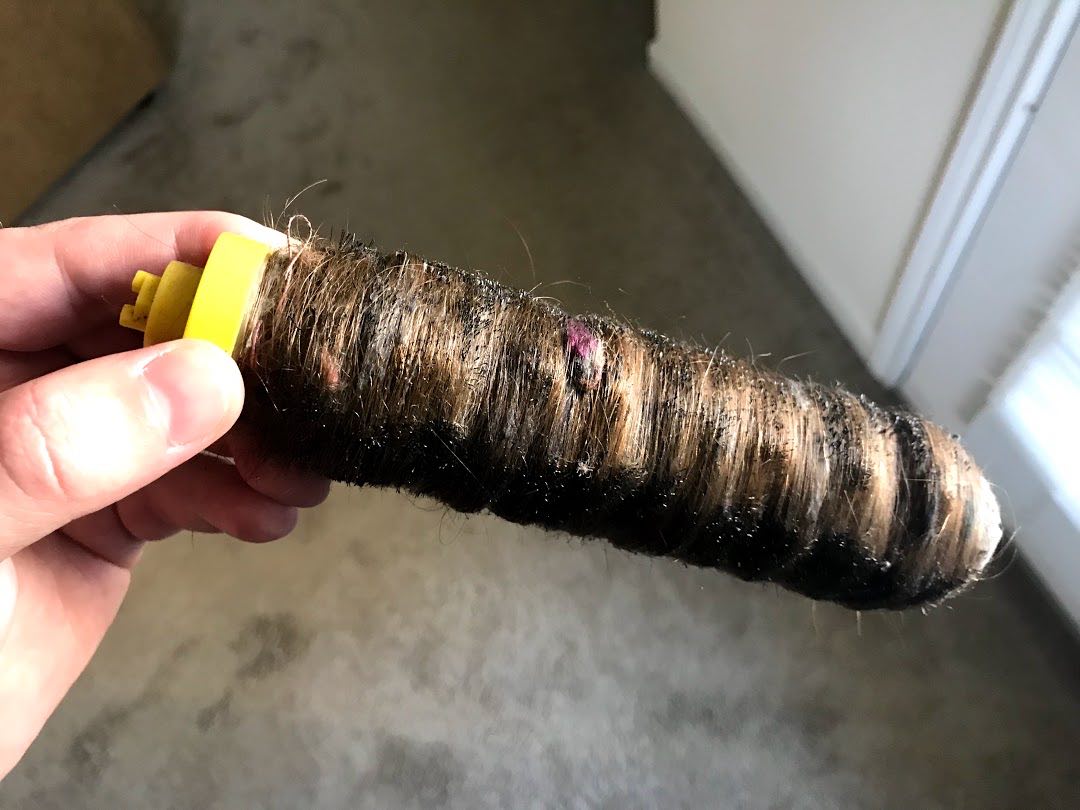
Full of hair and a few bristles showing. You got to remove the hair from your Roomba to keep it working well.
It’s the bristles of the brush that does the cleaning for carpets, and the less you have, the less effective your robot vacuum will be.
Not only that, but these brushes wear out over time and get shorter. The shorter the brush, the less it contacts the carpet and the less effective it is at cleaning.
If you have long hair or pets, these brushes will get a lot of hair trapped in them, especially if you mostly have carpets. So, you may need to clean the brushes twice a month!
How To Clean Your Brushes
1. Remove The Dustbin
Flip the bot over and remove the dustbin.
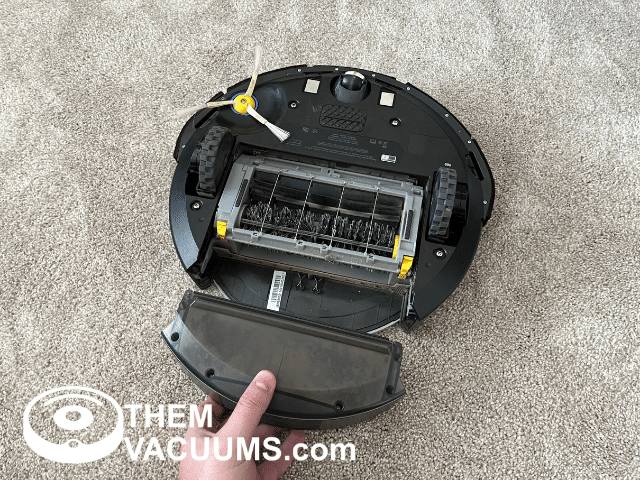
2. Press Yellow Tabs
Press the two yellow tabs as shown below to release the cage around the brushes.
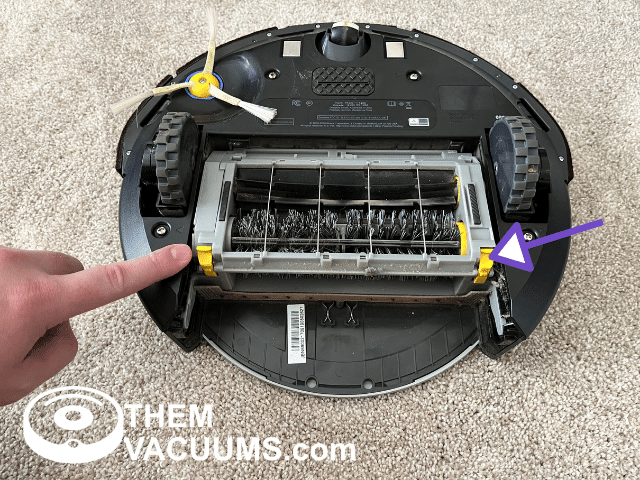
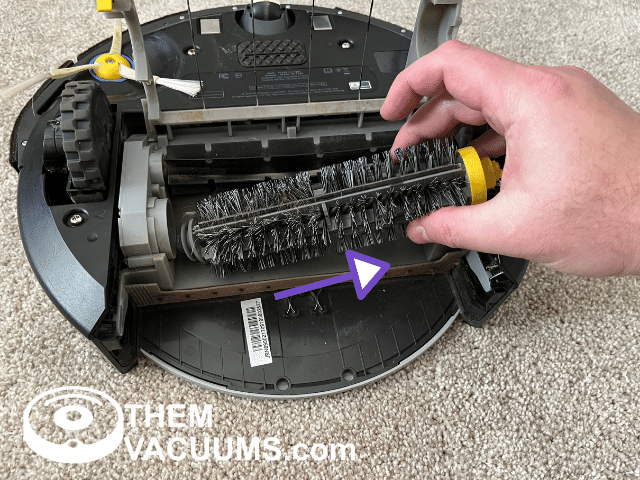
3. Slide The Brushes Out
The brushes will slide out when you lift the yellow side up.
Remove the brushes from the robot vacuum.
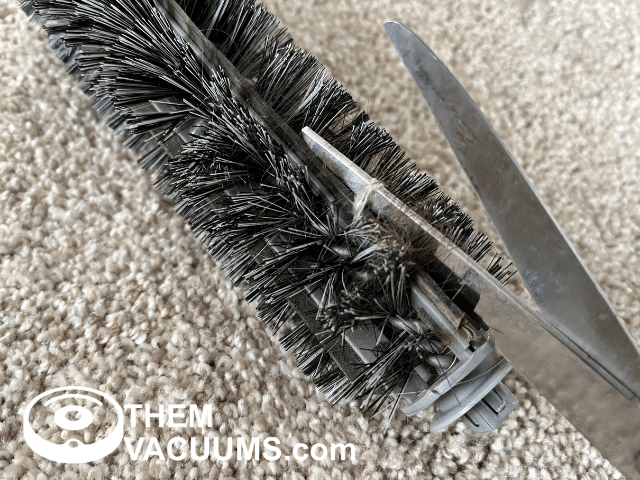
4. Cut Hair With Scissors
When the brushes are out of the robot vacuum, you can cut the hair and anything that is tangled in them out.
No need to be fancy, regular scissors will do the job!
5. Rinse
An often overlooked step, you can and should rinse the brushes off.
I do mine under the sink as shown in the picture below and then dry them off with a towel.
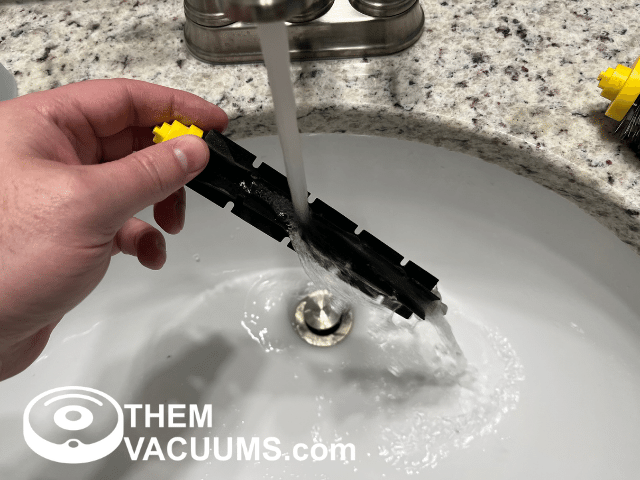
These brushes get nasty, and not rinsing them off just means they’ll keep being nasty when cleaning.
It takes 5 seconds to do, it’s very much worth it! You’ll agree when you dry them off and see all the grime that is left behind.
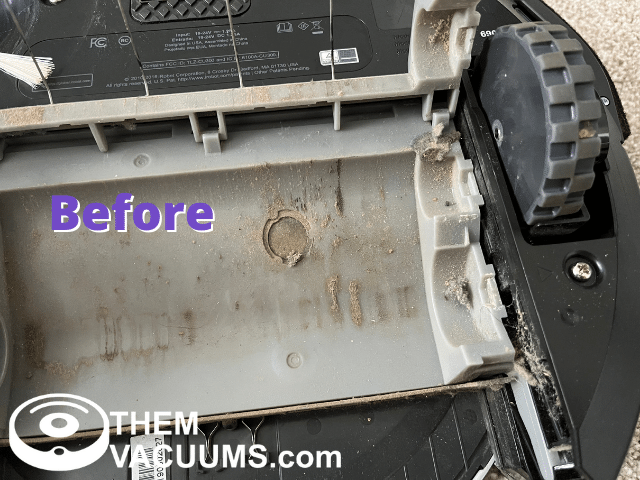
6. Dirt Detector Sensor
Under the brushes is a piezo microphone that acts as a dirt sensor. It listens to how much dirt is being sucked up and if it detects a lot it does the spot clean.
It’s a good idea to clean this sensor with a slightly damp rag to get all the gunk off.
Too much gunk on this sensor and it won’t spot clean or know to crank up the cleaning/suction on some robot vacuums.
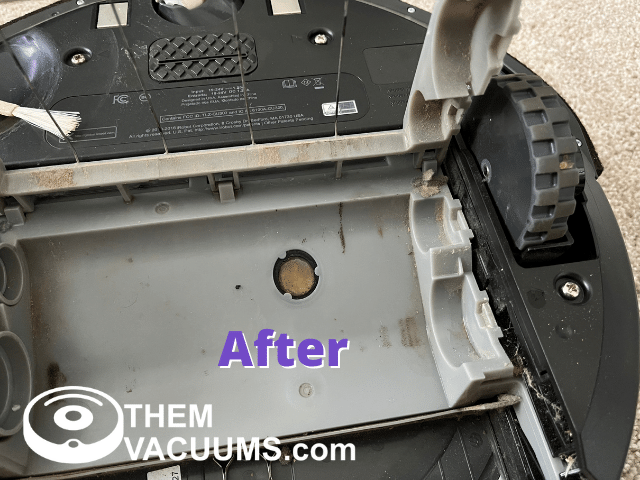
Do not pour water or get this area too wet. You can use rubbing alcohol if the dirt and gunk is really bad, just don’t over do it and don’t press hard on the sensor.
Please Clean Your Brushes Monthly
You need to clean your Roomba brushes monthly and replace them every year.
There are more things you need to do to keep your Roomba cleaning the best it should. Check out our robot vacuum maintenance guide here!